For this post, I would like to talk about how I created a photo from Cannon Beach, Oregon, last year.
Before I left on this trip, I read about a new technique that can create interesting patterns in the sky when you stack a series of photos taken about 5-10 seconds apart with fast moving clouds. (The technique is described on PetaPixel, among other places, and it tend to resurface as a ‘new’ idea every few years)
I wanted to try it. But the clouds were not moving very quickly and the sun was setting very quickly.
So I thought, since I was on a beach, why not try the same concept, but with waves. Either way, it was too late to move to a new spot, so my choices were to work with what I had or give up and ensure I walked away with nothing.
I set up my camera and took a series several series of photos. One particular group of about 20 photos is what I would like to discuss in this post. Of this group of 20 photos, this was the first:
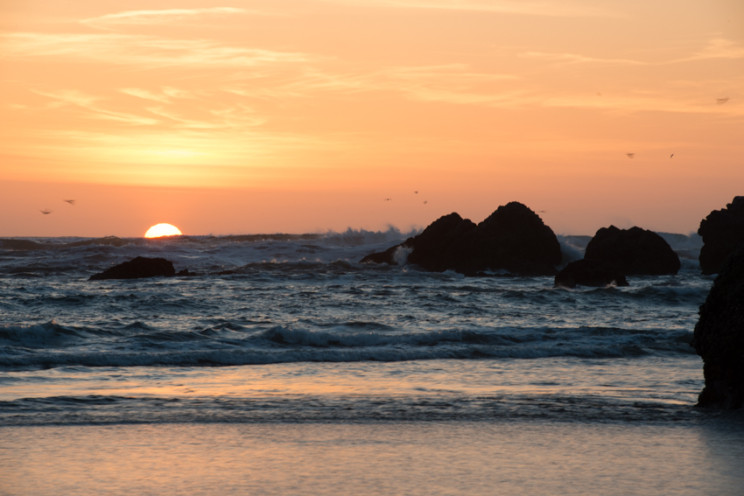
Ok, not too bad. There’s a lot I really like about this photo, especially in the color of the sky and the sea stacks in shadow.
I opened up the series of photos in Photoshop and stacked them on top of each other with Darken as the blend mode. Darken, like Lighten, are really nice for working with this kind of scene. In the earlier part of this post I linked to an article which talked about using ‘Lighten’ as your blend mode for clouds. I have found that Lighten works best for lighter objects, and Darken works best for darker objects. This is all subjective and mostly about what you like best or what just works best for you.
However, 20 photos was a bit too many. So I turned layers on and off until only about 6 remained. These 6 felt right, so I performed a merge visible on all but the bottom layer and set this new layer to ‘darken’.
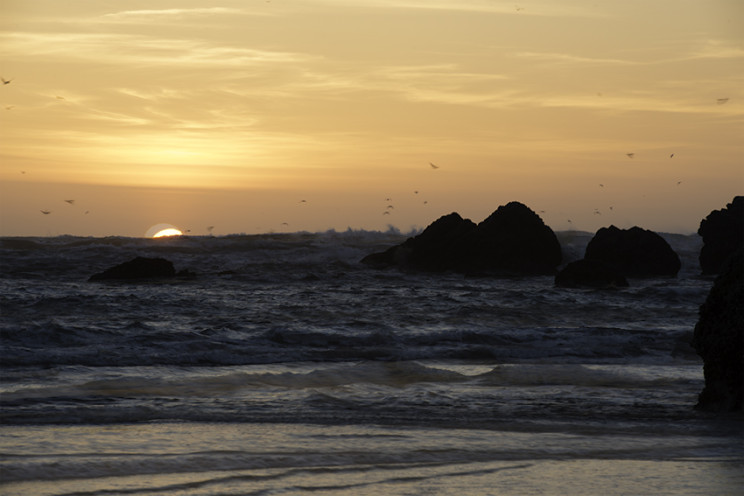
Oops, I left a little too much of the transparency on. That just won’t work right. (See the Sun for what I mean)
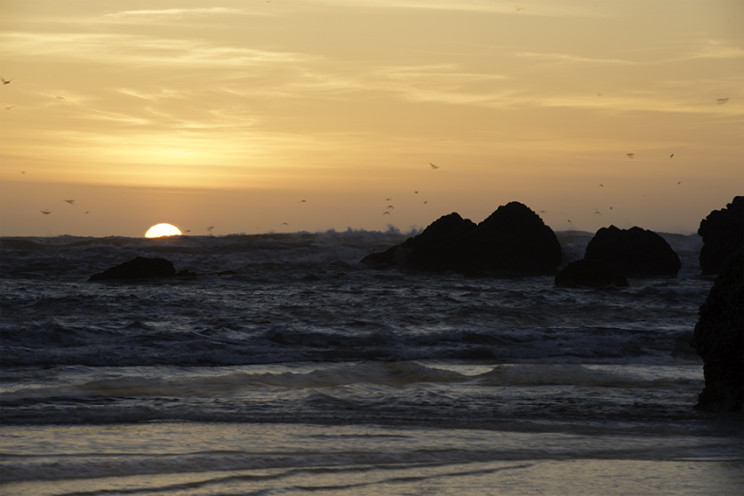
Ahh better. I’ve masked out the area where the sun sits in the image. This means that the bottom layer’s sun is now showing through.
What is left do do on this photo? 2 major things. In Photoshop, I want to create a mask for the Oranges. I feel like this color is just not where I want it to be. So I’ll create a quick mask and adjust the Hue to make it a little more orange, and also underexpose the area a little to bring the brightness down.
Next, I’ll do the opposite for the waves. I feel like they need to be made brighter, as well as have their colors saturated a bit more.
Finish it all up with a sharpening layer and we have:
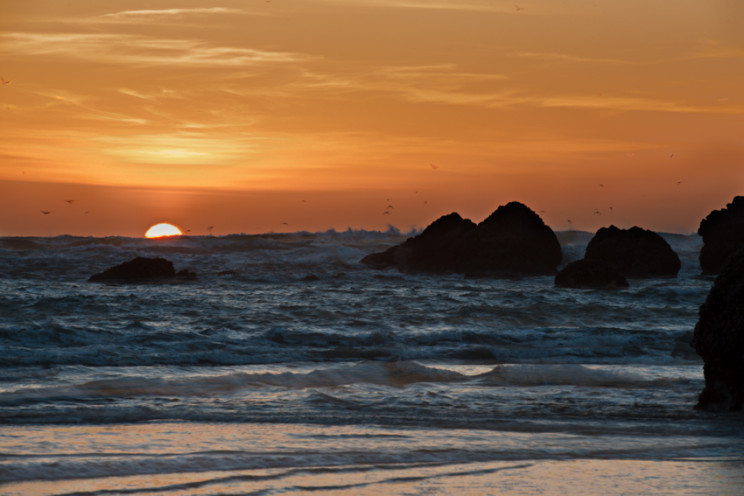
After this image had been published, I noticed that the orange in the waves that I so liked was actually due to me forgetting to turn off the transparency of the layer. Once that was turned down, we get:
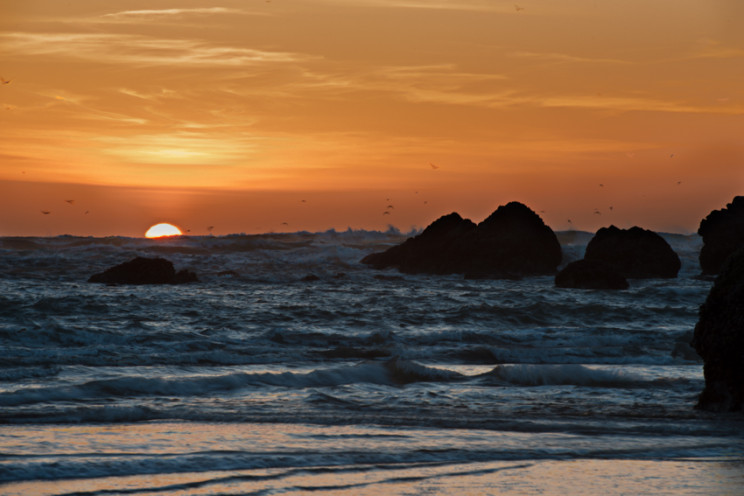
Now we are nearly at our completed image. I am really liking where this image is going.
There is still an issue with this image that I would like to correct. Do you see the area between the sea and the sky? There is a small color halo. This is an easy fix. We create a new Darken layer and using the paintbrush tool, we sample a nearby color and paint our way across the image. The result is a subtle change, but, it eliminates the annoying halo.

And there it is, the finished image. By stacking images, we can make a relatively calm ocean look like a much more active ocean.
-M
Cannon Beach, Oregon, at Sunset